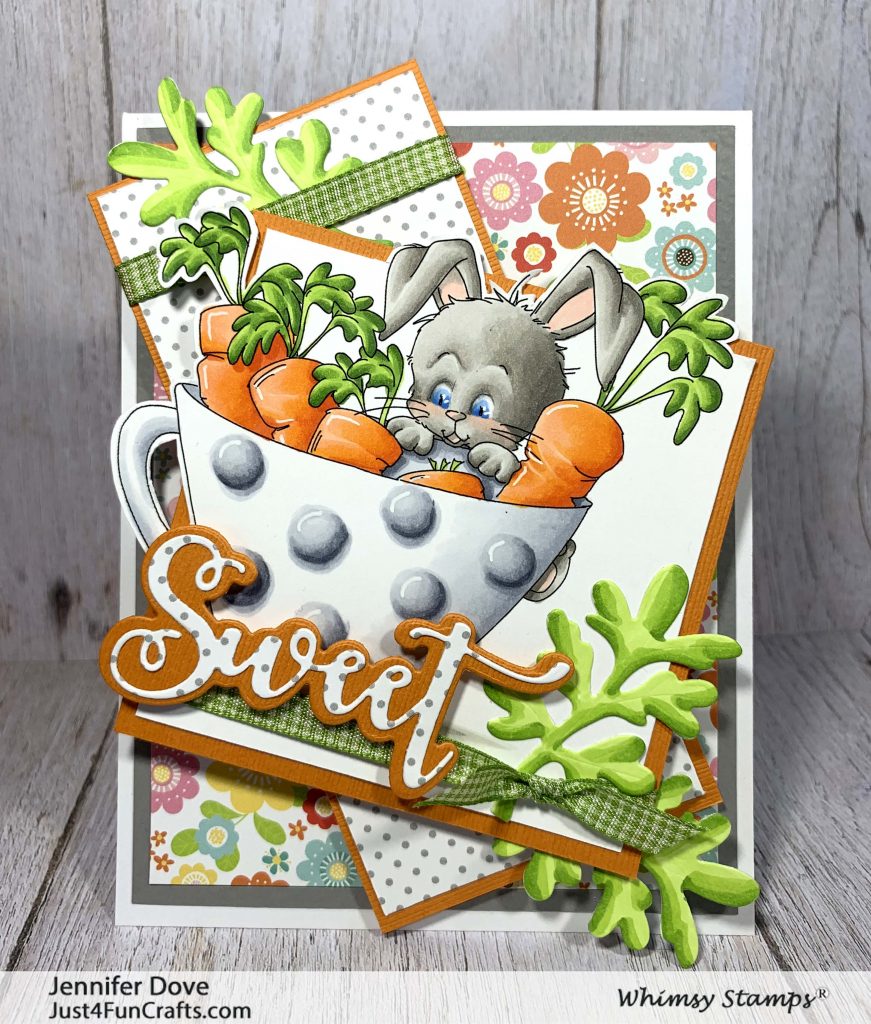
I thought I would have some fun coloring this sweet digital bunny, Cup Full of Happiness, from Whimsy Stamps. Not only have I colored it up, but I have also recorded the process on my YouTube channel. If you have some extra time you can watch it. Unedited, just as it all happened. The link is at the bottom of the post. I figured you might have some fun giving it a coloring-along with me.
Once you are done coloring, come on back and create this card following the instructions below. Be sure and grab this digital stamp HERE or at the link below and print at about 3 1/4 tall by 3 3/4 wide.
Creating this Card
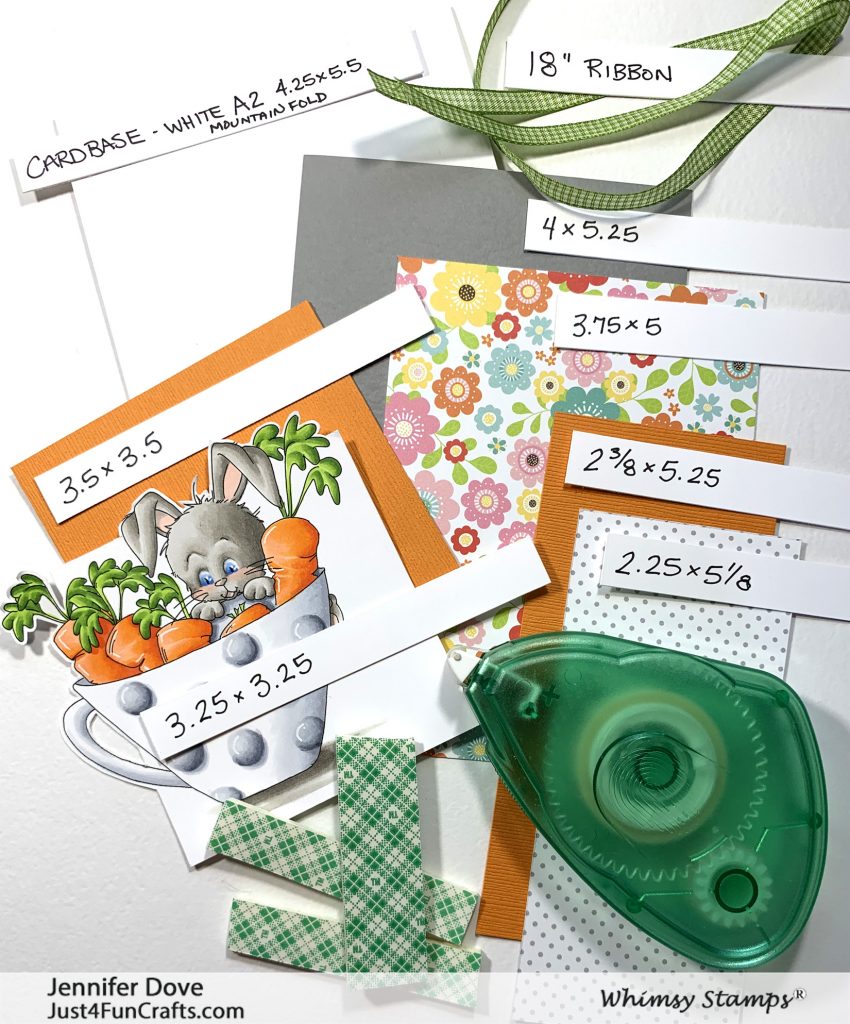
Gather all the products in the photo above, or ones similar to them. Remember your card doesn’t have to be exact. Cut your pieces down to the recommended sizes as shown above. For this card I used Gray and Orange cardstock, Doodlebug Petite Prints – Stone Gray Swiss Dots, Echo Park – Spring Fling 6×6 paper pad and a white card base.

If you look at this image closely, you can see where I made the cut lines and then fussy cut the rest of the image. If you choose to not do this you will need to adjust the size of the image mat.
Creating the Layers
Layer all the mats to the pattern paper as shown on the main finished card with a regular tape runner. Wrap a smaller portion of the ribbon around the back edges of the gray dot pattern paper and adhere it down cutting off any excess. Wrap the ribbon around the lower portion of the main image layers. I only wrap around the edges and not the whole back side as to conserve ribbon. Cutting off the excess, I will then add a knot around the ribbon on the front of the card to resemble a “bow”. I call these “knot-bows”.

We will assemble the pieces in the following order. Floral layer is adhered to card base. Dot layer is popped up at an angle using a single layer of foam tape. The main image is also popped up using foam tape at an angle going the other direction.
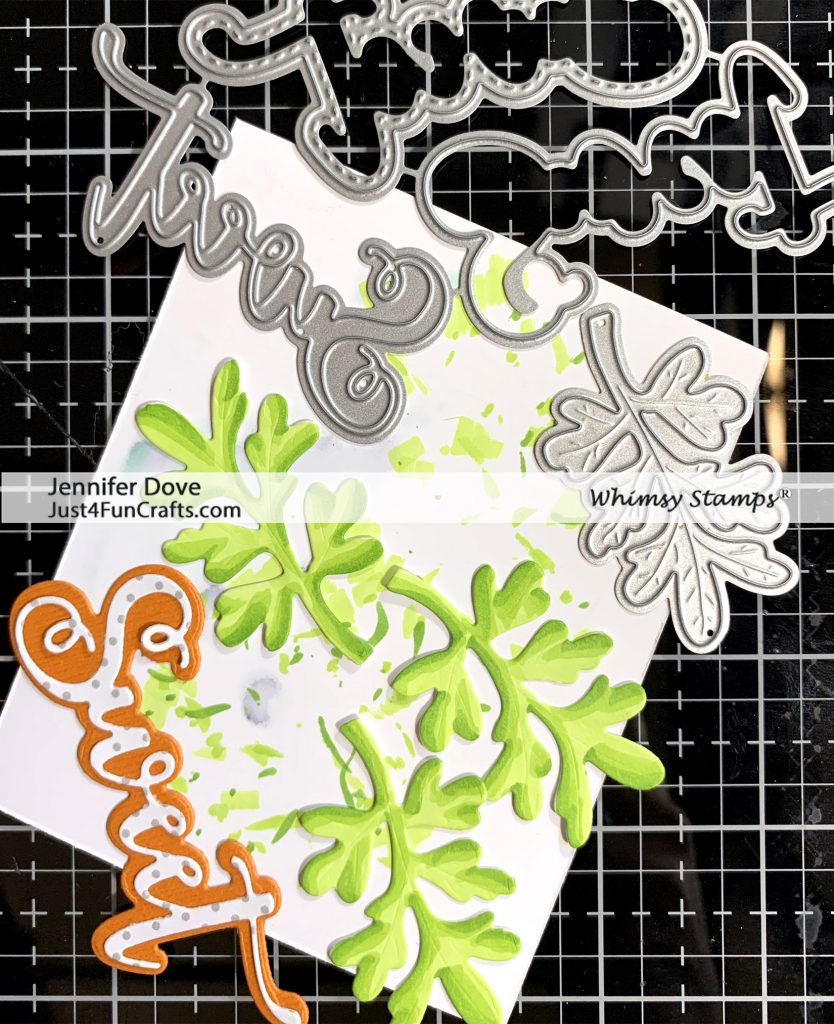
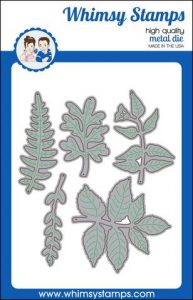
Next we add the sentiment and foliage. For these I used Whimsy Sweet Word and Shadow die, but you can use what you have on hand or grab this awesome die in the store. The foliage is from the die set Leaf Foliage 2. Don’t you think the one leaf looked just like a carrot top? The leaves were then cut out of white cardstock and colored it up with Copic markers YG03 and YG17. When done, I glued the foliage down with liquid glue and popped up the sentiment.
 Cup Full of Happiness – Digital stamp
Copic Markers:
W1 W3 W5 R11 Bunny
B21 B24 C3 Eyes
YG03 YG17 YG67 Foliage
YR02 YR04 YR09 Carrot
C0 C1 C3 C5 Cup
Pencil
Blender Marker 0


I love the photo with the supplies and the tabs of measurements – great idea and looks fun too.
thank you Barbara…hope it makes it easy to create 😉