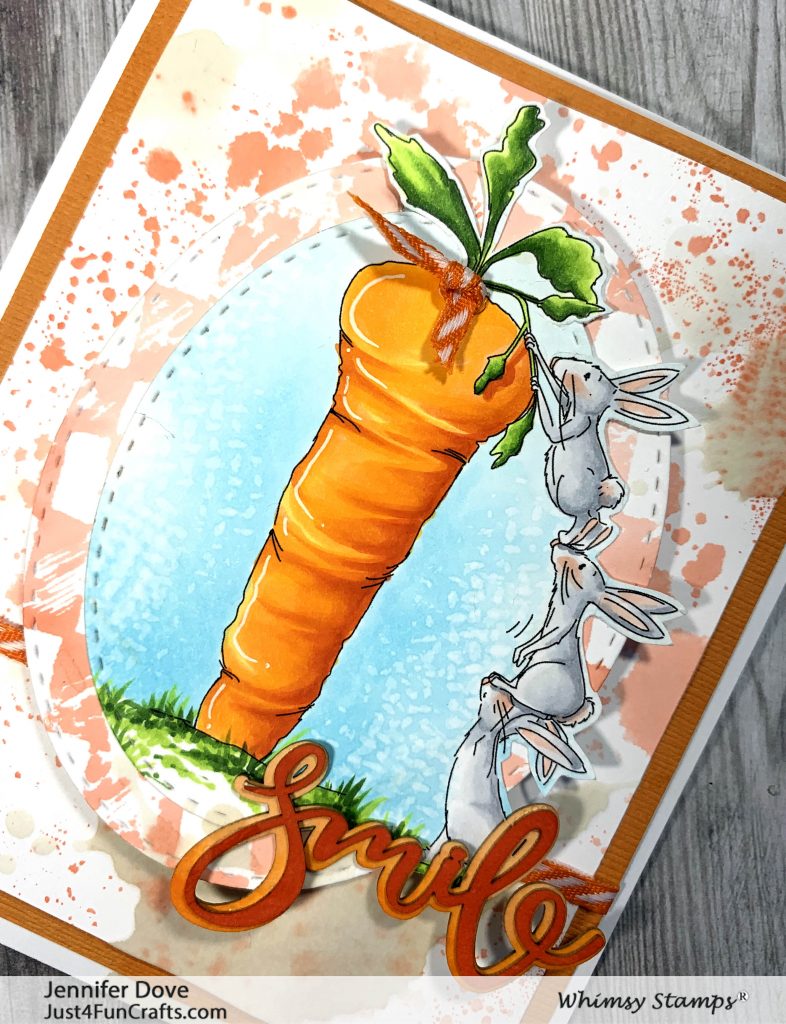
How many of you have finished a card and then knocked over a drink onto it? That’s how it played out with this card. Instead of tossing it, I decided to just splash more coffee onto it. Sometimes you just have to roll with it, right? I have been browsing through Whimsy Stamps digital stamp section, and wow there are a lot of them and they are superb!


Creating this Card
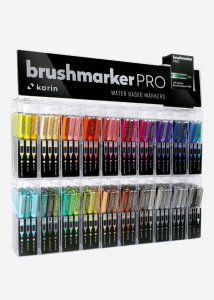
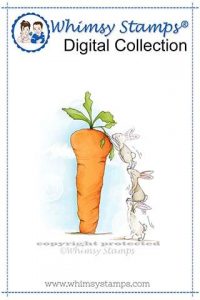
This adorable image is a digital stamp called Bunny Assistant. I colored it up and then die cut it out with the Basic Stitched Ovals. Using the Karin Markers and some spilled coffee I created the large background. I scribbled ink on my Tonic Studios Glass Mat and then spritzed it with water. Once the ink beaded up on the glass I laid the paper onto the wet ink creating the background. A second layer was then created with the Stitched Ovals and for fun I thought I would do another technique. Once again scribbling on the glass with the Karin and lightly misting with water, and this time I stamped the Checkerboard Doodles background stamp onto an oval layer. I finished it off with a chipboard sentiment.
Checkerboard Doodles background rubber stamp


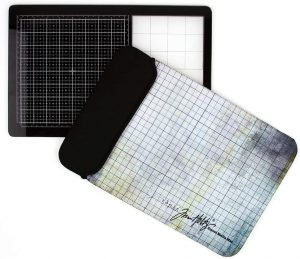
Tonic Studios Tim Holtz Travel Glass Mat

Copic Markers:
B0000 B000 B00 sky
C1 C3 C5 C7 R11 bunnies
Y35 Y38 YR65 YR68 YR09 carrot
YG01 YG03 YG17 YG67 carrot top


I think we have all been there, once or twice … This is a beautiful card. I can’t even tell/ see the original mistake.. I think you did a great job in hiding it, by adding more splashes… This is what I would have done..
Awe thank you AJ, sometimes we just gotta roll with the mistakes and embrace them huh. Thank you for taking the time to comment.
Adorable stamp & great coloring, as always. Clever use of the spills & glass mat for backgrounds. Thanks for all the inspiration.
Question: When purchasing digital images to color with Copics, should they be printed on an inkjet or a laser printer? And on the whale video I noticed a notation of printing 90%/35%, and don’t understand that. Can you explain, and how to do that? Thanks.
Definitely laser printer as it heat sets the ink into the paper. You can print the whale image at any size. I put that percentage for those that use a photo program to size the images. I can set it at a percentage for printing. Also the grey percentage so my lines are gray and not black. I can’t help you much with how your print setup is but that’s what those numbers are for ?