Okay this was super fun, and a bit outside the box for the die set. Sometimes it just works! I love the look of this card, and if you are hear reading this then you did as well. If you already grabbed the Gnome Hugs die set, and the Hugs Accessories die set then you are good to go! I shared the card making process below for you to follow.
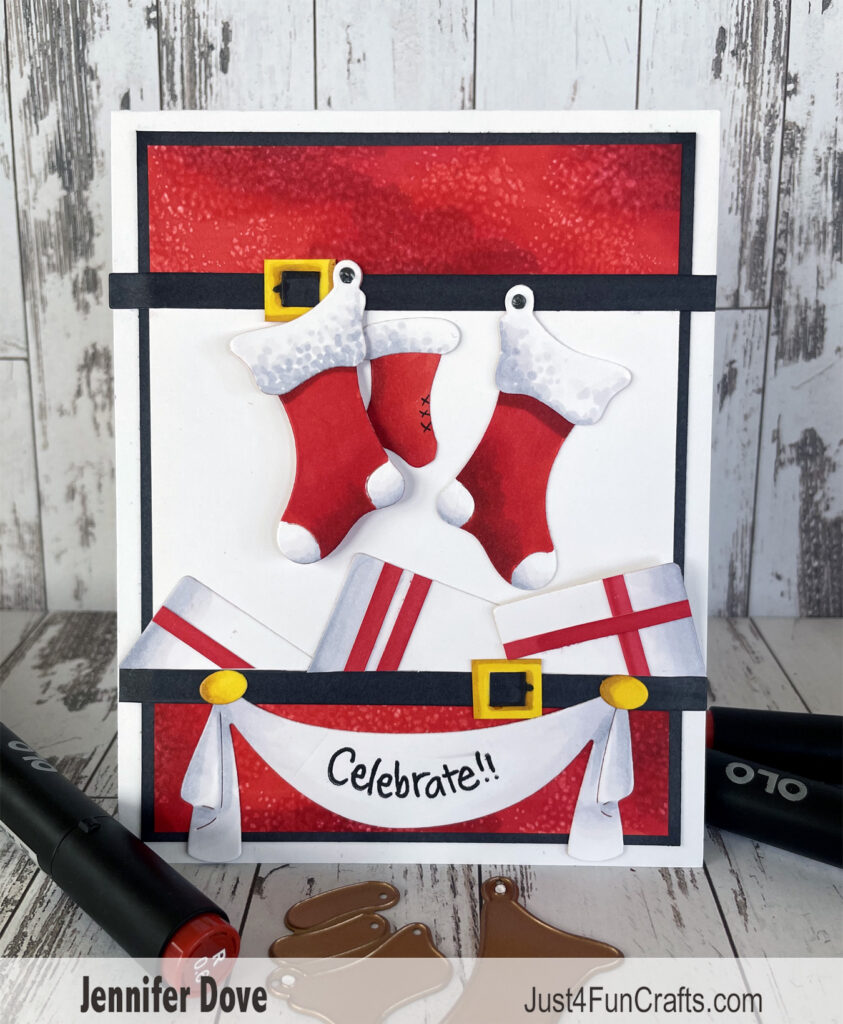
Creating this Card:
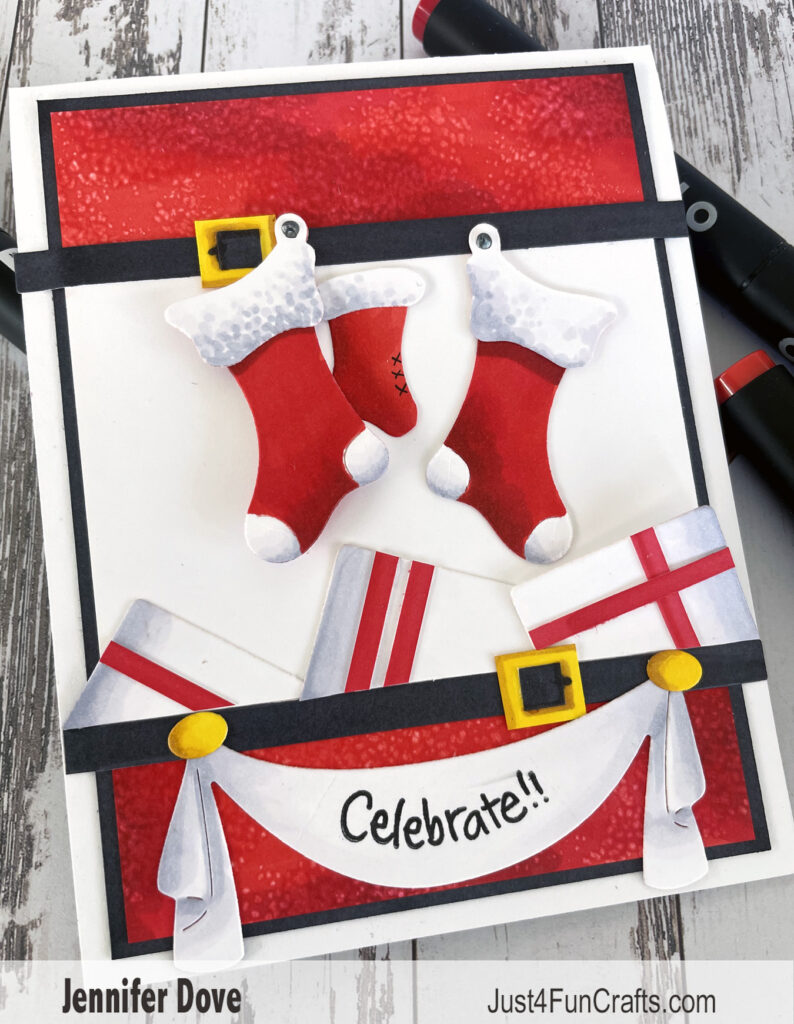
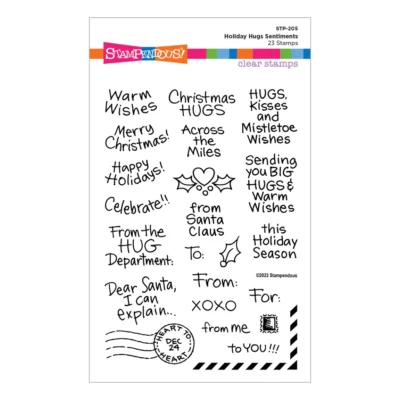
I started out with a white panel and colored the top and bottom with my OLO alcohol markers. After coloring it in the reds I textured it with rubbing alcohol on a washcloth. You just need a little to make a light texture. I die cut the strips from the Hugs Accessories and colored them black, as well as colored a couple small rectangles for the belt buckle. Once these were colored I added them to the strips, then onto the edge of the red colored areas. I die cut a few of the rectangles in the die set and made presents with only a little coloring needed. These were cut and added to the lower “belt” area. The banner was die cut, colored and stamped with the sentiment from the Holiday Hugs clear stamp set, and then hung off the “belt”. There are stockings in the Gnome Hugs die set, so I colored and added them to the top “belt”. The small stocking was hand cut, so there is a little variation to the sizes. I love the clean look of this card, and the colors make it pop.
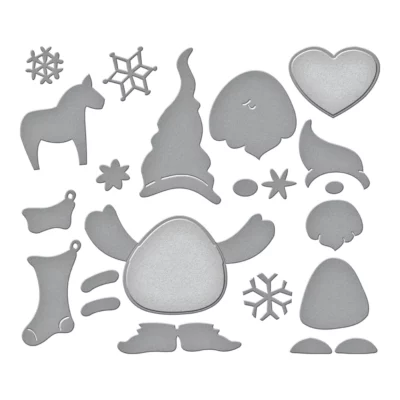
Stampendous Hugs Accessories die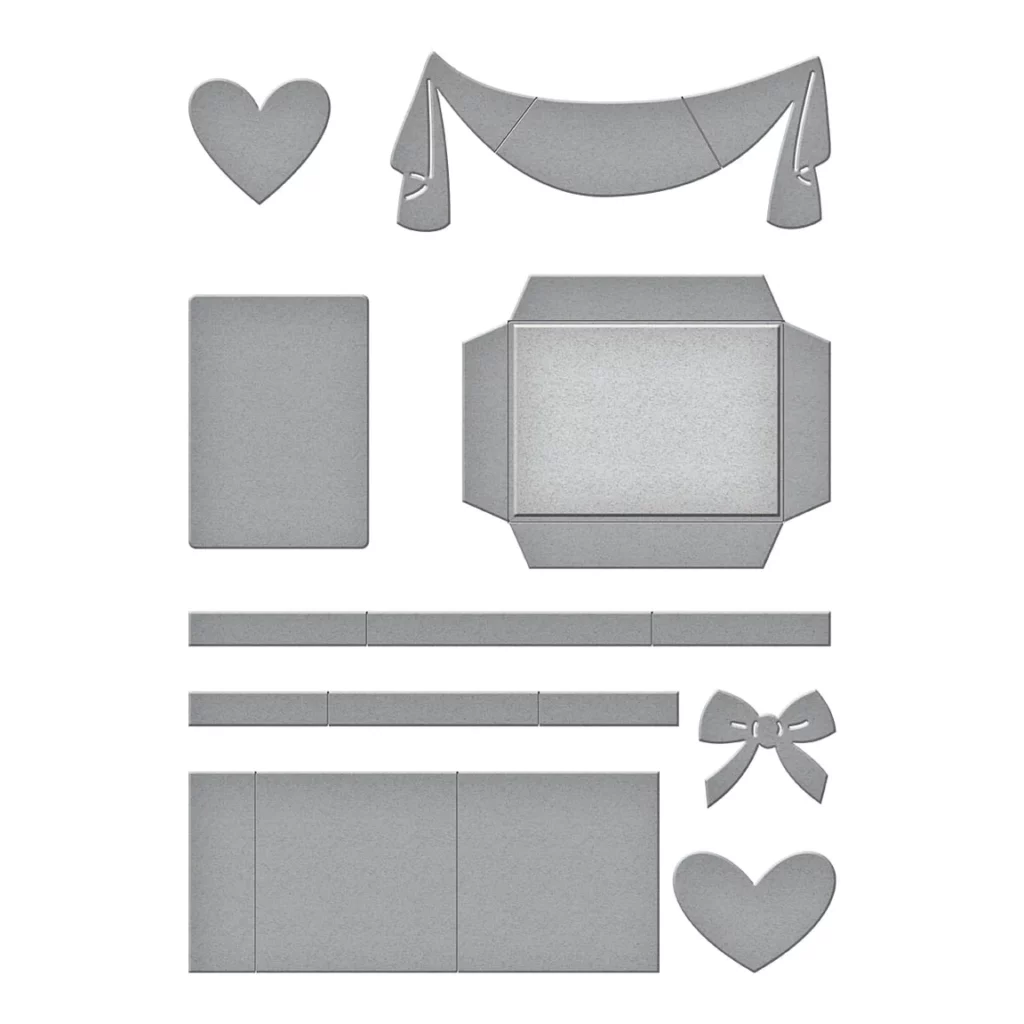

OLO Markers:
Buy OLO Markers HERE
R0.5 R0.6 R1.5
K
C-G0 C-G1 C-G3
Y2.3 YO2.3 YO2.5
Copic Options
R14 R24 R29
C0 C1 C3
Y15 Y26 Y28

This card, as well as the recent Rudolph card, really highlights your ability to take the parts of a card and pull them all together to create a phenomenal work of art. The shading you are able to do with the OLO markers turns 2D to 3D. I marvel at each new card you share!
Love this, Jenn!! Thanks for posting the Copic colors. I appreciate it!!
Take care. Miss you!!