Today I wanted to bring the OLO Marker to the foreground, creating backgrounds with the chisel side of the marker. It is so easy to do. I found that the beautifully stiff construction of the chisel allowed for a more constant straight line, and holds up really nicely for this technique.
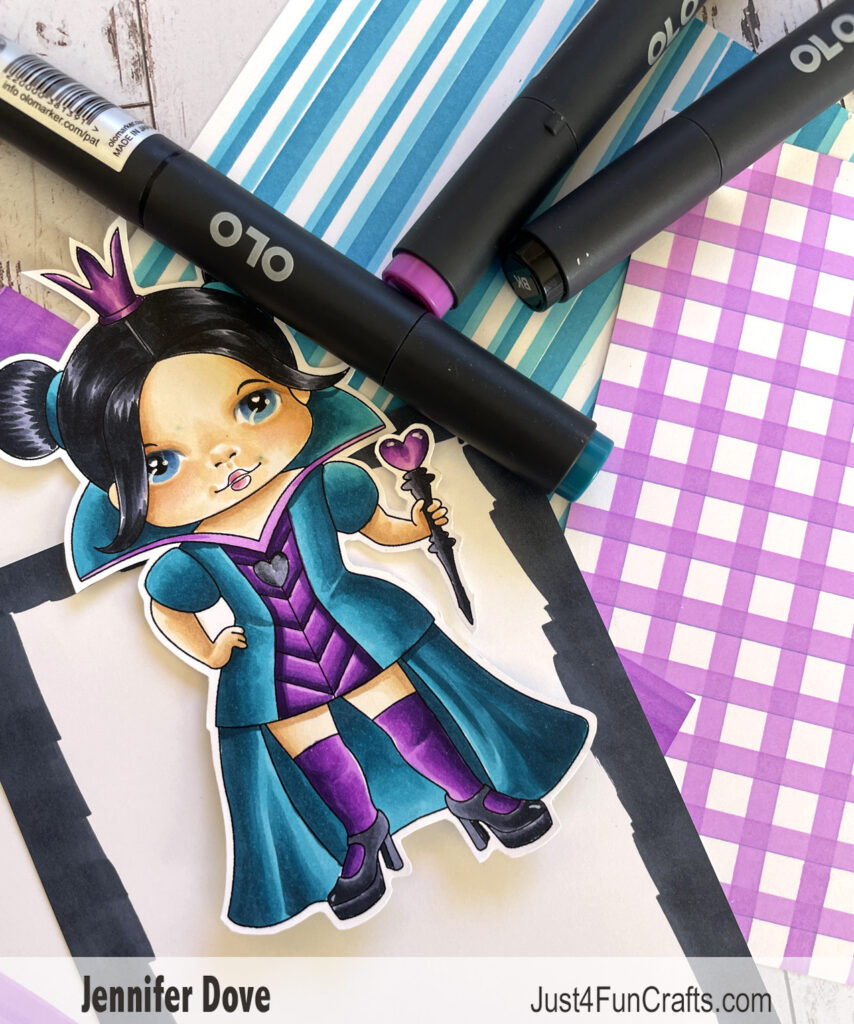
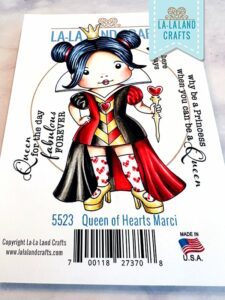
I had colored the La-La Land Crafts Queen Of Hearts image a while back, but now wanted to create patterned paper to match. The look is easy to achieve with a straight edge or ruler, and the complimenting colors. I wouldn’t do the same technique with the Brush Nib, as it can damage the nib. I also love the OLO chisel nibs for coloring larger areas like the “layered” paper underneath the pattern paper. All you need to do is color the portion that will show (not the whole paper), as seen in the photo below.


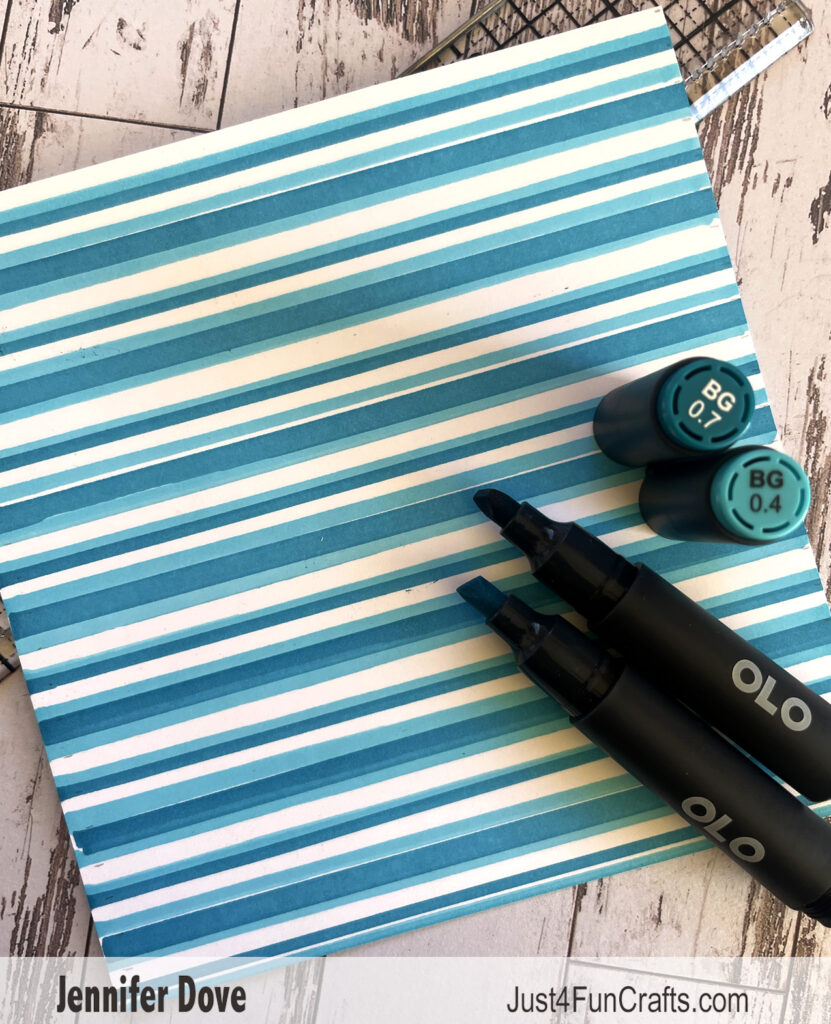
Using the ruler I was able to create the stripe paper for the background, and the checker paper in the foreground.

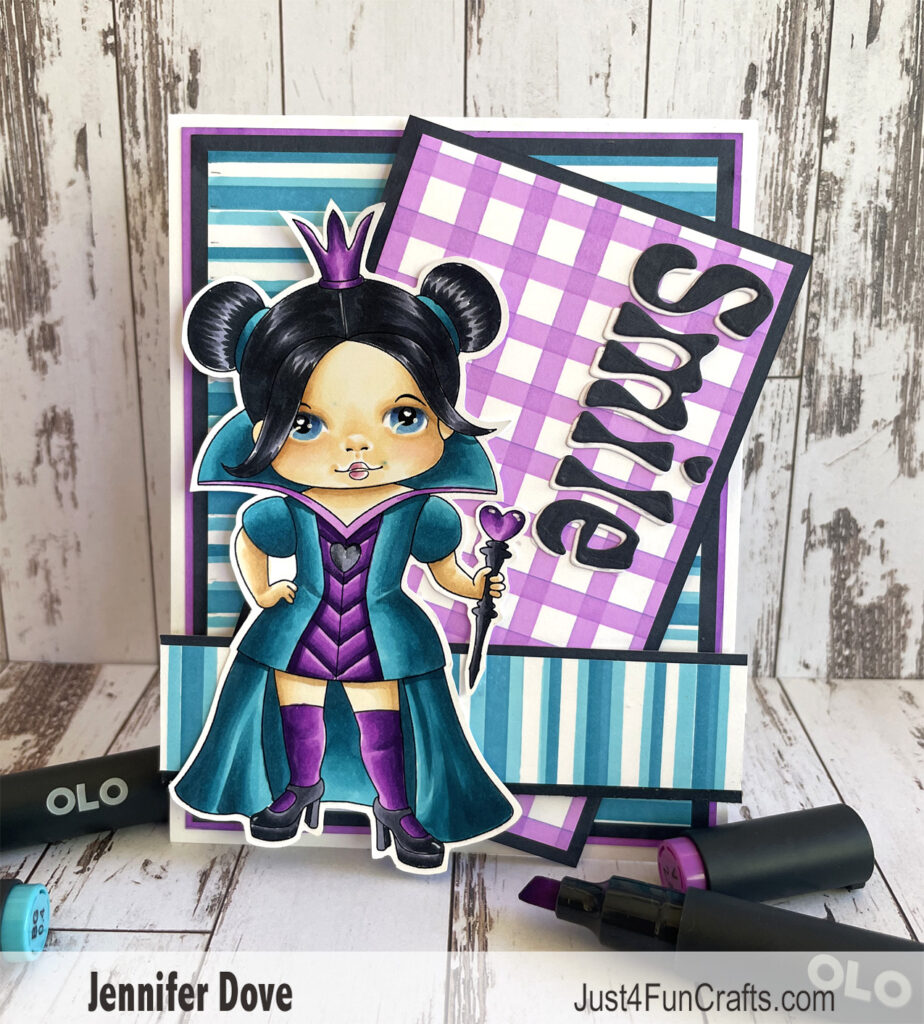
Here is the card completed with the different patterns, all created with the chisel nib of the marker.
Did you know you can buy the OLO Marker in different options? Each piece of an OLO is a half marker that is easily connected with the connector rings. You can mix colors, or stay with the same color to form one single marker. You can even attach the marker half with a refill cartridge using the same connector ring. The possibilities are endless. Brush/Brush, Chisel/Brush, Brush/Refill, Chisel/Refill….how will you make your marker? I personally have Brush/Brush to form my marker, but in the colors I use the most I also have the Chisel/Refill for doing the backgrounds.
I have a special affiliate link on the side of my blog for when you are ready to order, or click on the link below.
If you want to try to color Queen Of Hearts Marci you can find it HERE.

OLO cOLOrs
Purchase your OLO Markers HERE
Chisel Nib everyday price is just $3.39 compared to the $4.10 of the OLO Brush
B4.3 B4.6 B4.7 Eyes
CG1 CG3 CG5
V2.3 V2.4 V2.6 V2.7
BG0.4 BG0.7 BG0.8
CG5 CG7 CG9 K
Skin – Copic E50 E51 E53 E55 R11
